Terra is the stablecoins framework with a pool of tokens to work with. Today in this guide, we will learn how to create our own token on the Terra blockchain network.
Smart contracts are the most crucial application of blockchains. All the applications developed on various blockchain platforms run on smart contracts or their variations. Smart contracts on Terra are based on the CosmWasm platform. It provides a WebAssembly (WASM) runtime for contracts; these contracts are compatible with all the Cosmos SDK based blockchains. Smart contracts on Terra, once deployed, can be instantiated and be used to make various applications with little or no changes. So you can either deploy a new contract or instantiate an already existing contract by referring to it using its code id. We will instantiate the CW20 contract already deployed on Terra. We will use the testnet contract.
CW20 Tokens
CW20 is a fungible token specification based on CosmWasm; its name is derived from Ethereum's ERC20 token specification. CW20 is in a way similar to ERC20 but with few alterations to have specific use cases.
Next up is setting up Terra Station and Terra node.
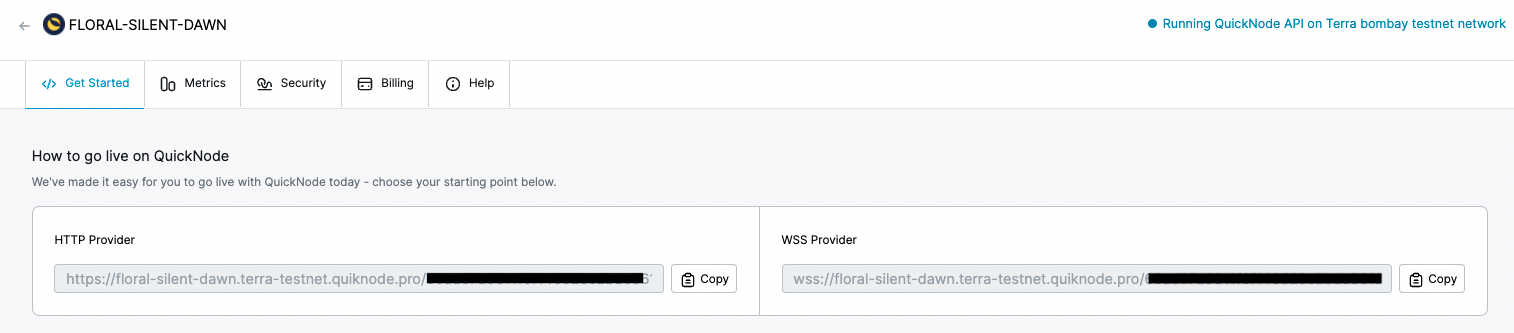
To set up Terra Station with QuickNode, we will first need the Terra Station extension installed on our browser and an account created in it.
Once we have the account set up, click on the setting icon on the top left and click on ‘Manage networks’. Fill in the details like the desired name for the network (QuickNode Bombay Network in this case), chain id of the network (bombay-12 here as we are using testnet), LCD Terra node URL (paste the node HTTP URL we got in the last step).
Getting testnet Luna
We will need some Luna to pay as gas fee for the transaction. Head over to the Terra faucet, and paste the from Terra Station wallet into the field. Complete the captcha test, select the test token you want to receive(Luna), and click on Send me tokens. The faucet will then send you 1000 test tokens.
Creating our token on Terra
Let us instantiate the CW20 token contract to create our own token. We will use Terra Station web UI to instantiate the contract and create tokens. Once you have opened Terra Station web UI, click on contract and then click on “Instantiate.”
Then a window will open, enter your address from Terra Station in the first field; in the second field, enter the code id for the testnet CW20 token contract, which is 148, get more information on CW20 code ids here. In the third field, enter the following JSON msg object.
The above are the instructions/parameters we are instantiating the contract with.
Name field store name of the token.
Symbol field stores the symbol ticker of the token.
Decimals field store the number of decimal up to which the token can be divided.
Initial_balances field stores the address to which the tokens have to be created and the amount of tokens to be created.
After you enter these details, Terra Station will calculate the gas fee. Once that is done, click on submit. A pop-up loading window will appear, and once a complete transaction complete message appears, open the transaction in Terra block explorer. Click on show logs and you will find the contract address.
Once you click on the contract address or search it in the Terra block explorer, you will see all the details about the contract. You can even query the contract using the query button and then by sending JSON msg objects.
Let us query our balance by pasting the following in the textbox and sending the query to contract by clicking on Next.
In this guide we learned about smart contracts on Terra, getting test tokens on Terra, how to create a token on Terra, and how to query a smart contract on the Terra block explorer.
Subscribe to our newsletter for more articles and guides on Ethereum. If you have any feedback, feel free to reach out to us via Twitter. You can always chat with us on our Discord community server, featuring some of the coolest developers you’ll ever meet :)


Comments
Post a Comment